
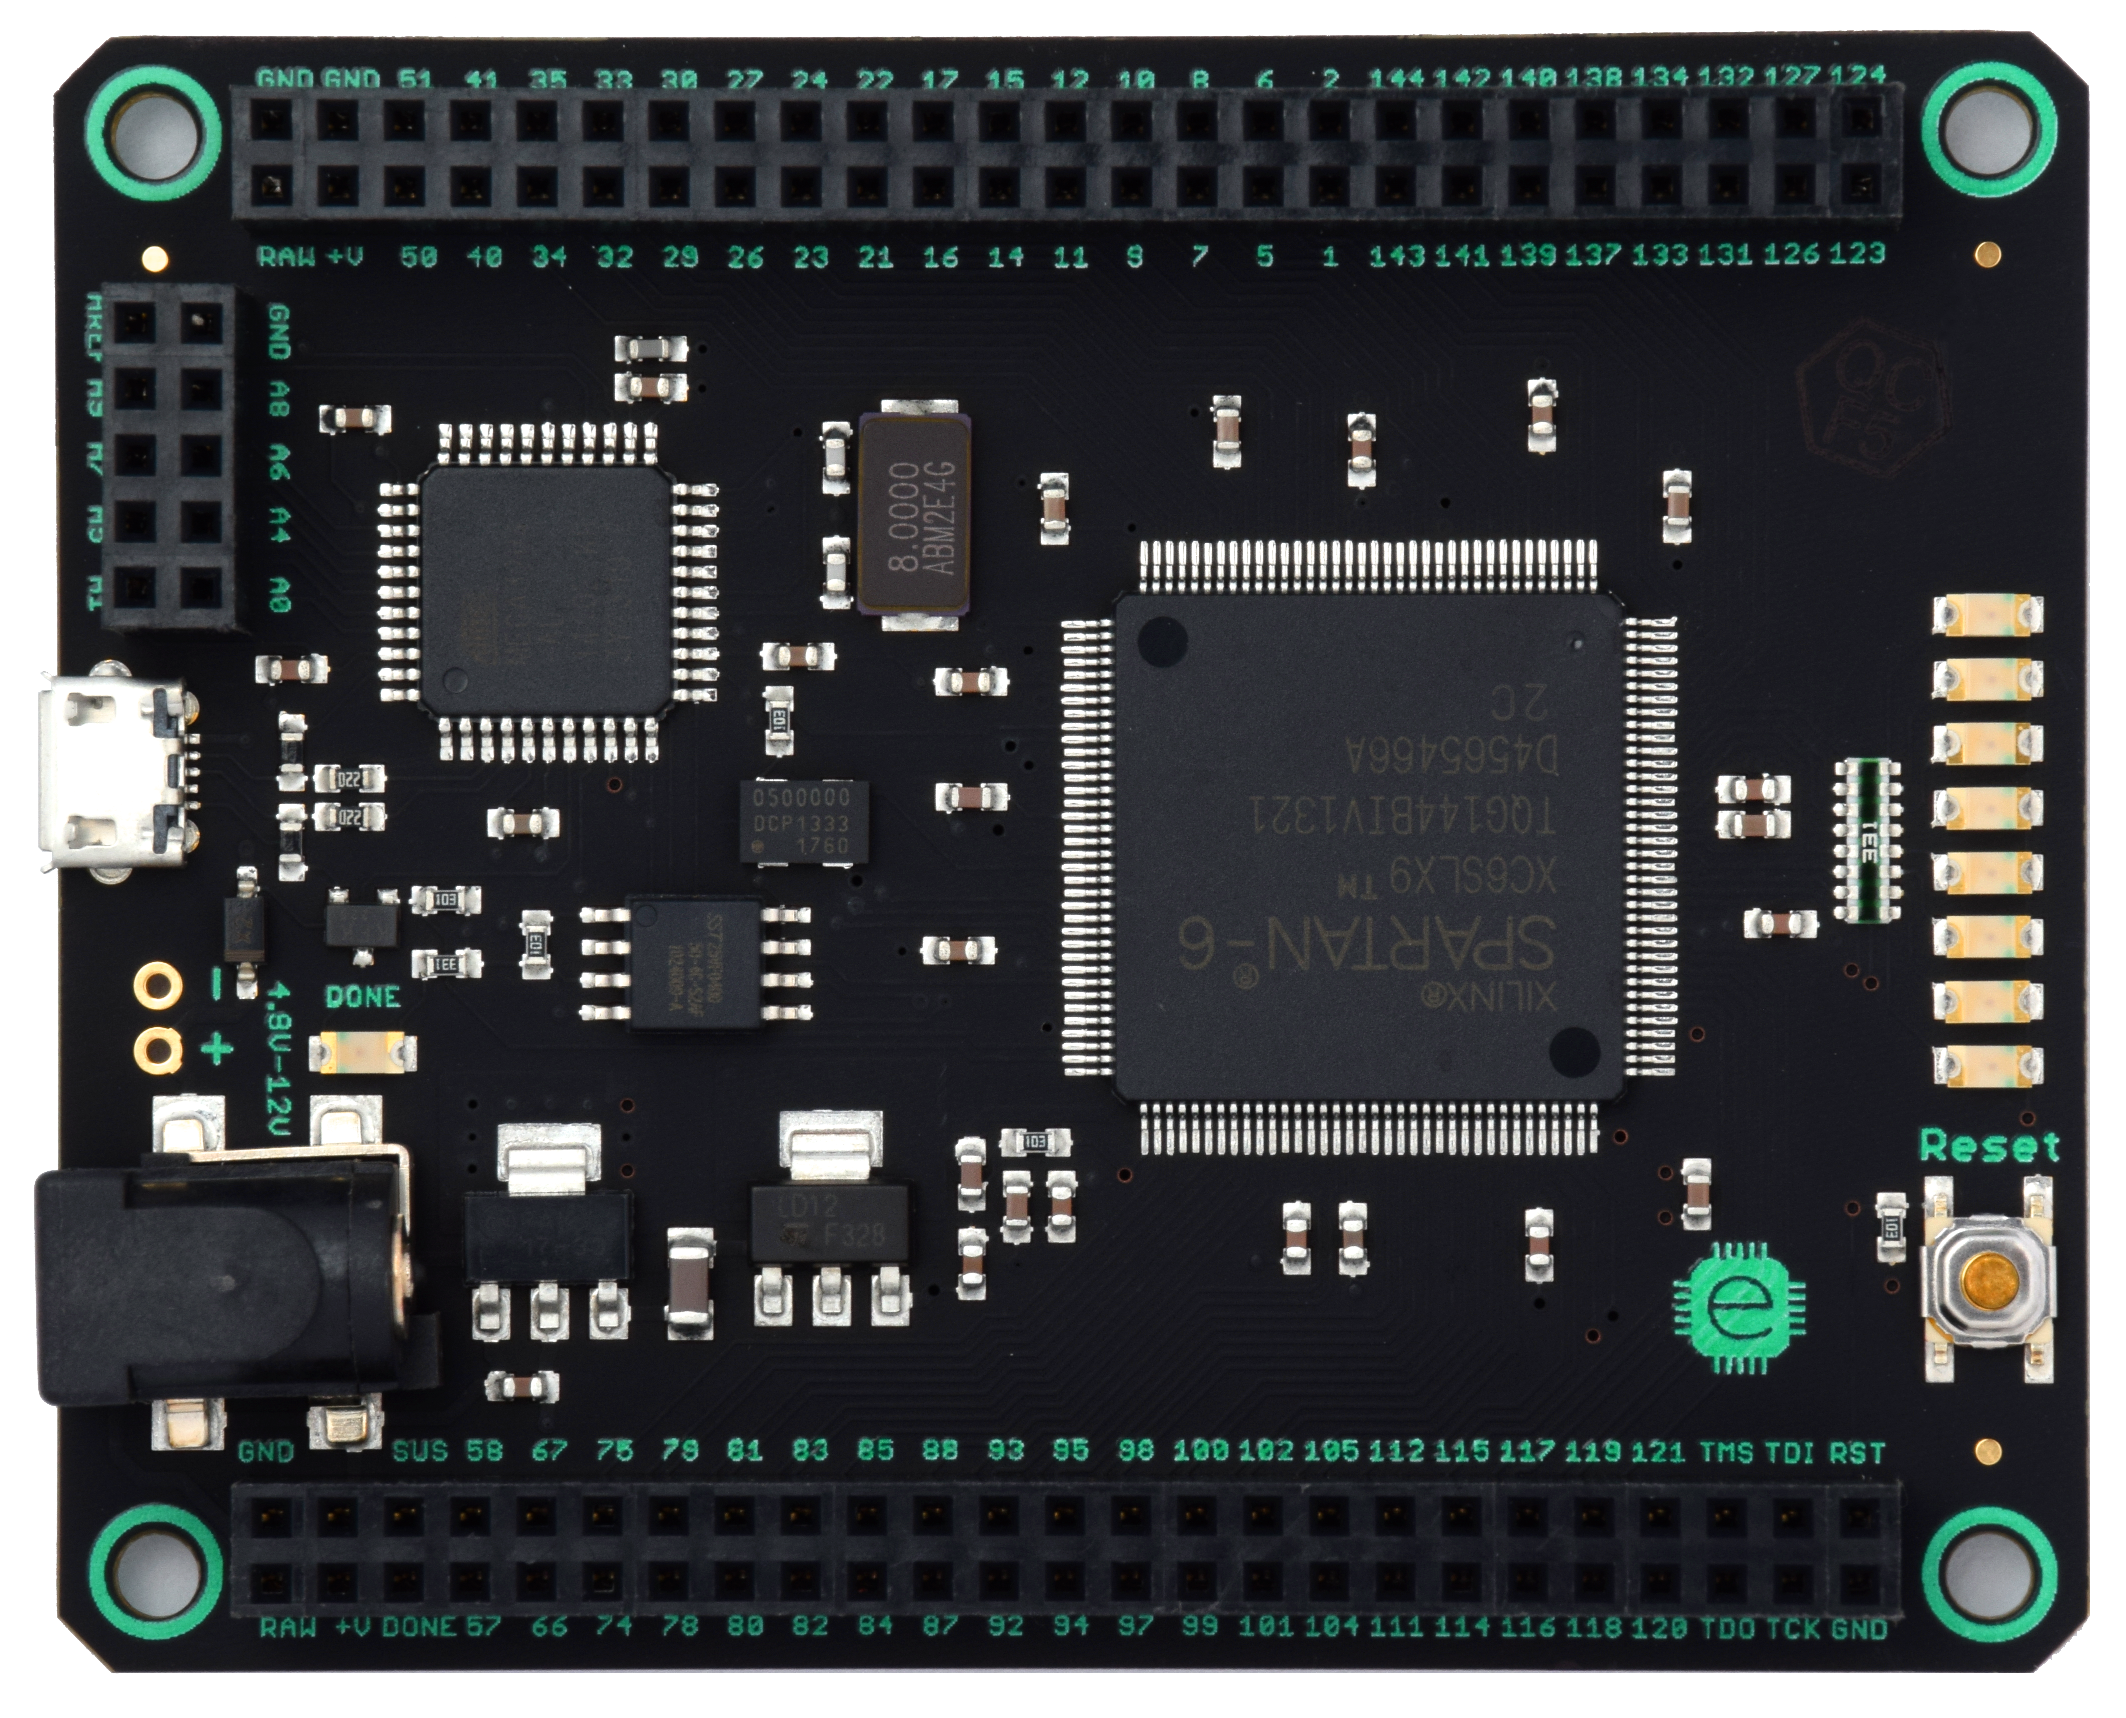
A few years ago I got myself a Mojo v3 from Alchitry (formerly Embedded Micro) but never got going with it until now. So here are my setup steps but I essentially follow :
https://alchitry.com/pages/lucid-fpga-tutorials
Step 1: Set to ISE from Xilink
Download version 14.7 from https://www.xilinx.com/support/download/index.html/content/xilinx/en/downloadNav/vivado-design-tools/archive-ise.html
Even though I have a Windows 10 machine I followed the suggestion in the Alchitry tutorial and I downloaded the vision not for Windows 10.
There are 4 files to download:
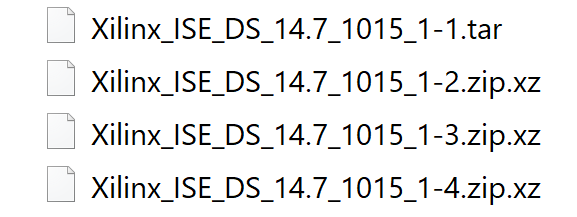
Untar the first file (I used 7-zip) and run the xsetup.exe
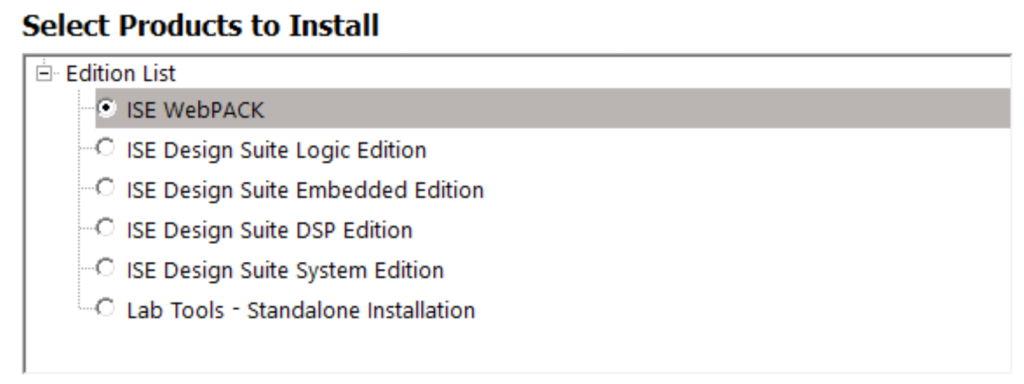
Only install the following:
At the you will be asked to generate a license file, select all the free options. The file fill be sent you via email and you can add the file to the licence manager (initially I failed to get a license for the PlanAhead module).
Now you have the ISE set up.
Step2: Installing Alchitry
Install Alchitry Lab from here. Also, download Mojo Loader as the loader in the lab did not work for me [there is a superseded IDE, Mojo IDE vB1.3.6, which is able to upload the sketch from within the IDE].
Then follow the tutorial for the LedtoButton project. After building use the MojoLoader to load the generated .bin file.
That’s all for this blog.
UPDATE: Having trouble with Alchitry Lab for Mojo but Mojo IDE works. No response from Alchitry support so far – will update when I hear something.
UPDATE: No response from Alchitry, very disappointing.

The page has been moved or deleted :(((
LikeLike